Once the Java Runtime Environment has been installed, you will need to install the First Pay mSDK Server/Client.
This application needs to be installed in order for Idealpos to successfully establish a connection with the pinpad - without this application, communication between Idealpos and the pinpad will fail.
In addition, the pinpad will need to be connected and the First Pay mSDK Server application will need to show a status of "Ready".
Begin by running the JAR file - simply double click on the 1stPayMSDK.Jar file. The icon of the file should show the Java logo (Coffee Cup icon).
If the JAR file does not show the Java icon or if you're prompted to select an application to open the file with, you may be missing the Java Runtime Environment.
Ensure that you have installed the Java Runtime Environment before attempting to run the 1stPayMSDK.Jar file.
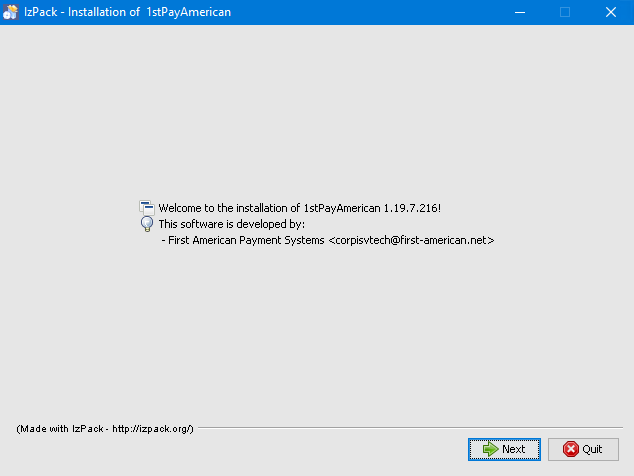
After running the JAR file, you will see the 1stPayAmerican installation window.
Press the "Next" button to proceed.
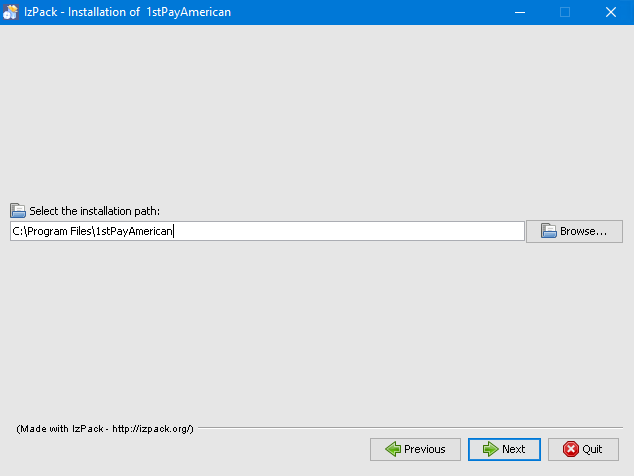
You'll then be prompted to enter the installation path.
Leave the default installation path as the default value of C:\Program Files\1stPayAmerican.
Press the "Next" button to continue.
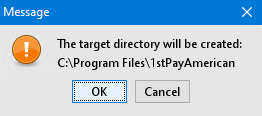
A prompt will appear prompting to create the target directory.
Press the "OK" button to proceed.
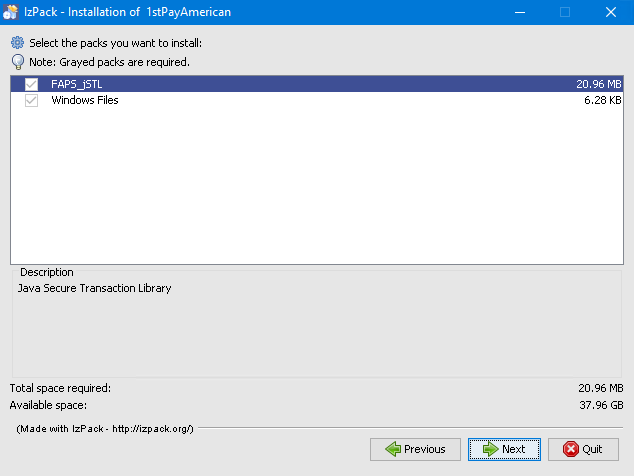
You will be prompted to select the packs to install.
All packs that are required are listed in grey and are pre-selected.
No user input should be required during this step - press the "Next" button to continue.
The installation of 1stPayAmerican will now commence.
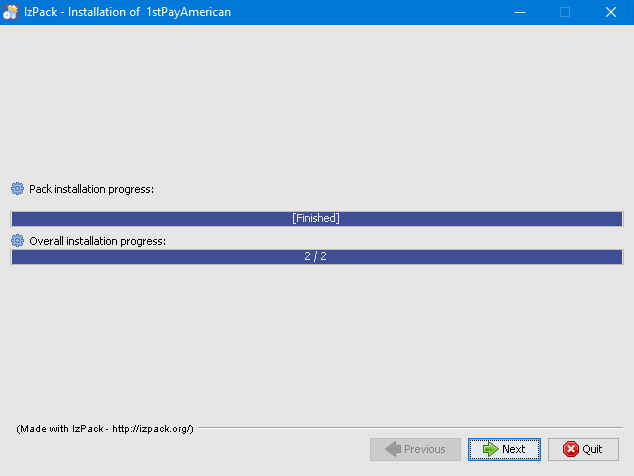
Once the required files have been installed, you should see [Finished] listed within the Pack installation progress bar as below.
To continue with the installation, press the "Next" button.
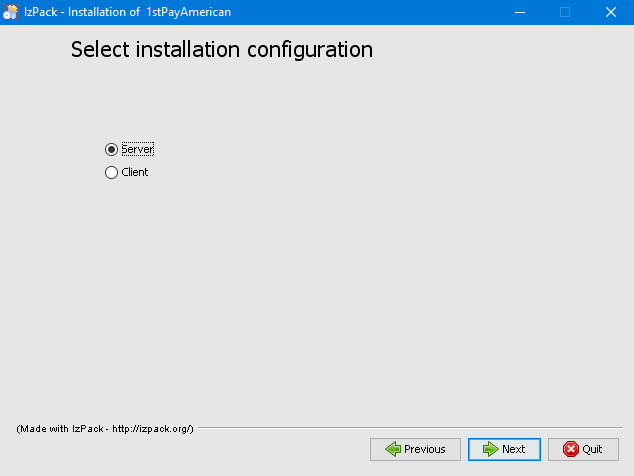
The default installation configuration should be set to Server, but if it isn't, ensure that you click on the Server option, then press "Next" to continue.
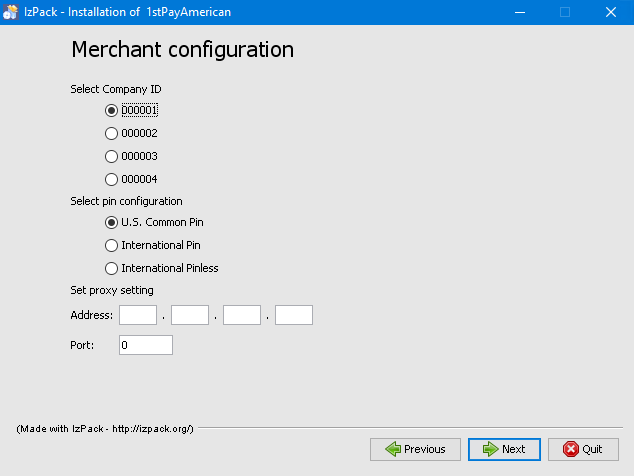
We have found that when re-installing an existing First American system onto a new PC/terminal, leaving the below screen on the default settings and pressing "Next" has allowed the installation to proceed without problems.
You will need to select the Company ID, PIN configuration and proxy settings.
Fill out the required details as supplied by First American Payments and enter your Proxy Server IP Address and Port if your network requires the use of a Proxy Server.
Once you have selected the required settings, press the "Next" button to continue with the setup process.
The configuration of 1stPayAmerican will now occur.
The Processing screen will appear and will show the steps that are being completed by the installation.
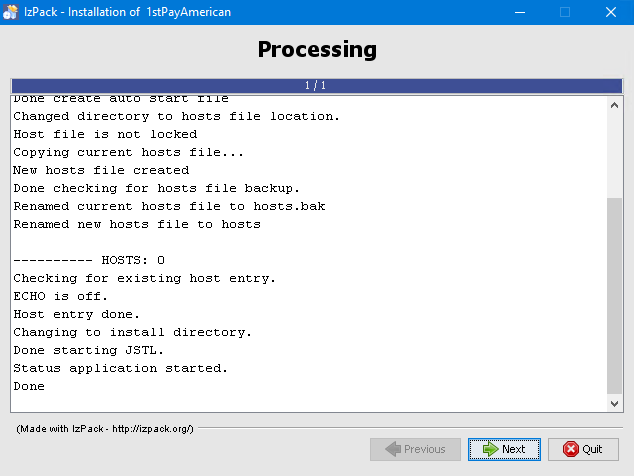
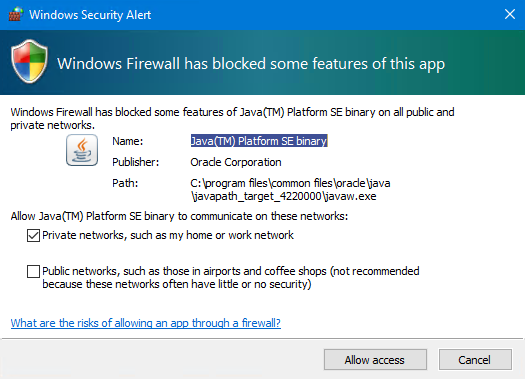
Note that you may also see an alert from your Firewall application requesting access.
Any firewall prompts may appear on top of the screen shown in the above step.
Ensure that you allow the Java Platform SE binary to communicate through your firewall.
After allowing/approving the above firewall prompt, the previous (Processing) screen will become visible again.
Press the "Next" button to continue with the setup.
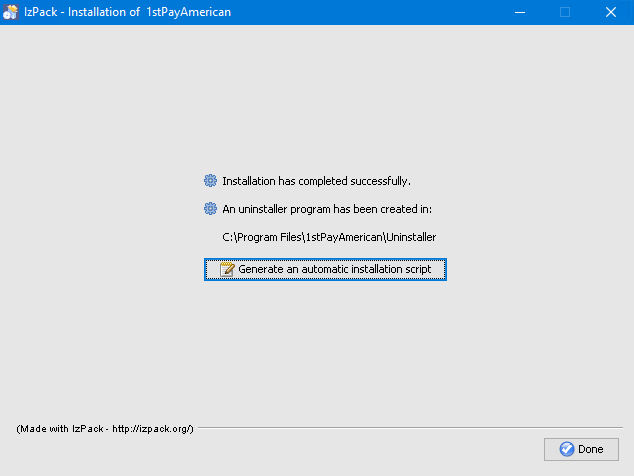
The final screen of the setup process will appear.
If the installation was successful, the prompt should show "Installation has been completed successfully" as below.
Press the "Done" button to finish the installation process and to close the installation screen.
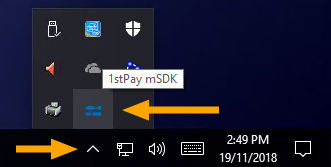
After the installation screen closes, you should see a new icon in the Windows System Tray (bottom right hand side corner of the screen).
Note that if you can't see the icon in the System Tray, it may be hidden.
Press the arrow in the system tray to show hidden icons.
When hovering over the icon, a screen-tip of "1stPay mSDK" will appear.
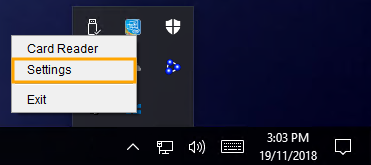
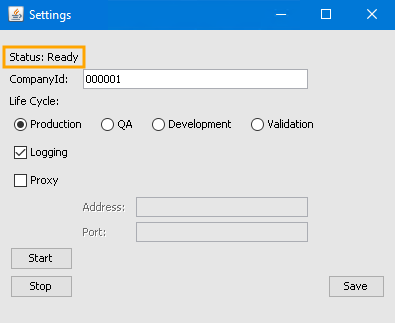
Right click on the 1stPay mSDK icon then select "Settings"
You should see a Status of "Ready".
The Company ID displayed will be reflective of the Company ID that was selected during the installation process.
Should a status of anything other than Ready be displayed, a restart of the system may be required.
Restart Windows by clicking on the Start button, press the Power icon, then select Restart.
On newer versions of Windows (Windows 8.1 and higher), you can right click on the Start button and select Shut down or sign out > Restart.
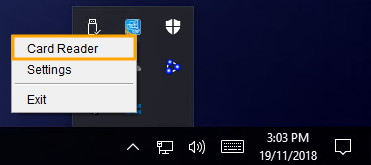
We also recommend checking the Card Reader Status.
To check the Card Reader Status, right click on the 1stPay mSDK icon located on the Windows System Tray and select "Card Reader".
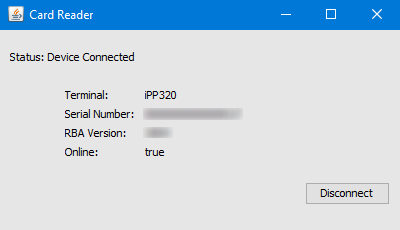
You should see a status of "Device Connected" along with the Terminal model number, Serial Number, RBA Version and the Online status.
The pinpad will also show a "Welcome" message on the screen.
Should there be any problems with the pinpad being detected by the 1stPay mSDK, try restarting the POS Terminal.
This should allow the POS Terminal to re-initiate the connection with the Pinpad terminal and establish a successful connection.
Should a restart of the POS terminal not result in a successful connection, you may want to try disconnecting power from the pinpad for a minute, then re-connect power to the pinpad.
Once this has been done, try restarting the POS terminal.
A connection should be established successfully.
However, should you still fail to establish a successful connection, further troubleshooting may be required - please refer to the First Pay American Support team for further assistance with troubleshooting and resolving connection issues between the pinpad and the 1stPay mSDK application.
Once the above steps have been completed successfully and the status reports "Ready" and "Device Connected", Idealpos can be configured on the POS Terminal to use the First American EFTPOS Integration.